At the beginning of quarantine, Zach and I decided we were ready to take on our first project. Being the kind man that he is, he asked me what I wanted to do first. Of course I said SHIPLAP!!
Our family room is a very large area and didn’t have texture or much of anything to it when we first moved in. This is why we loved our house so much because it was a blank slate.
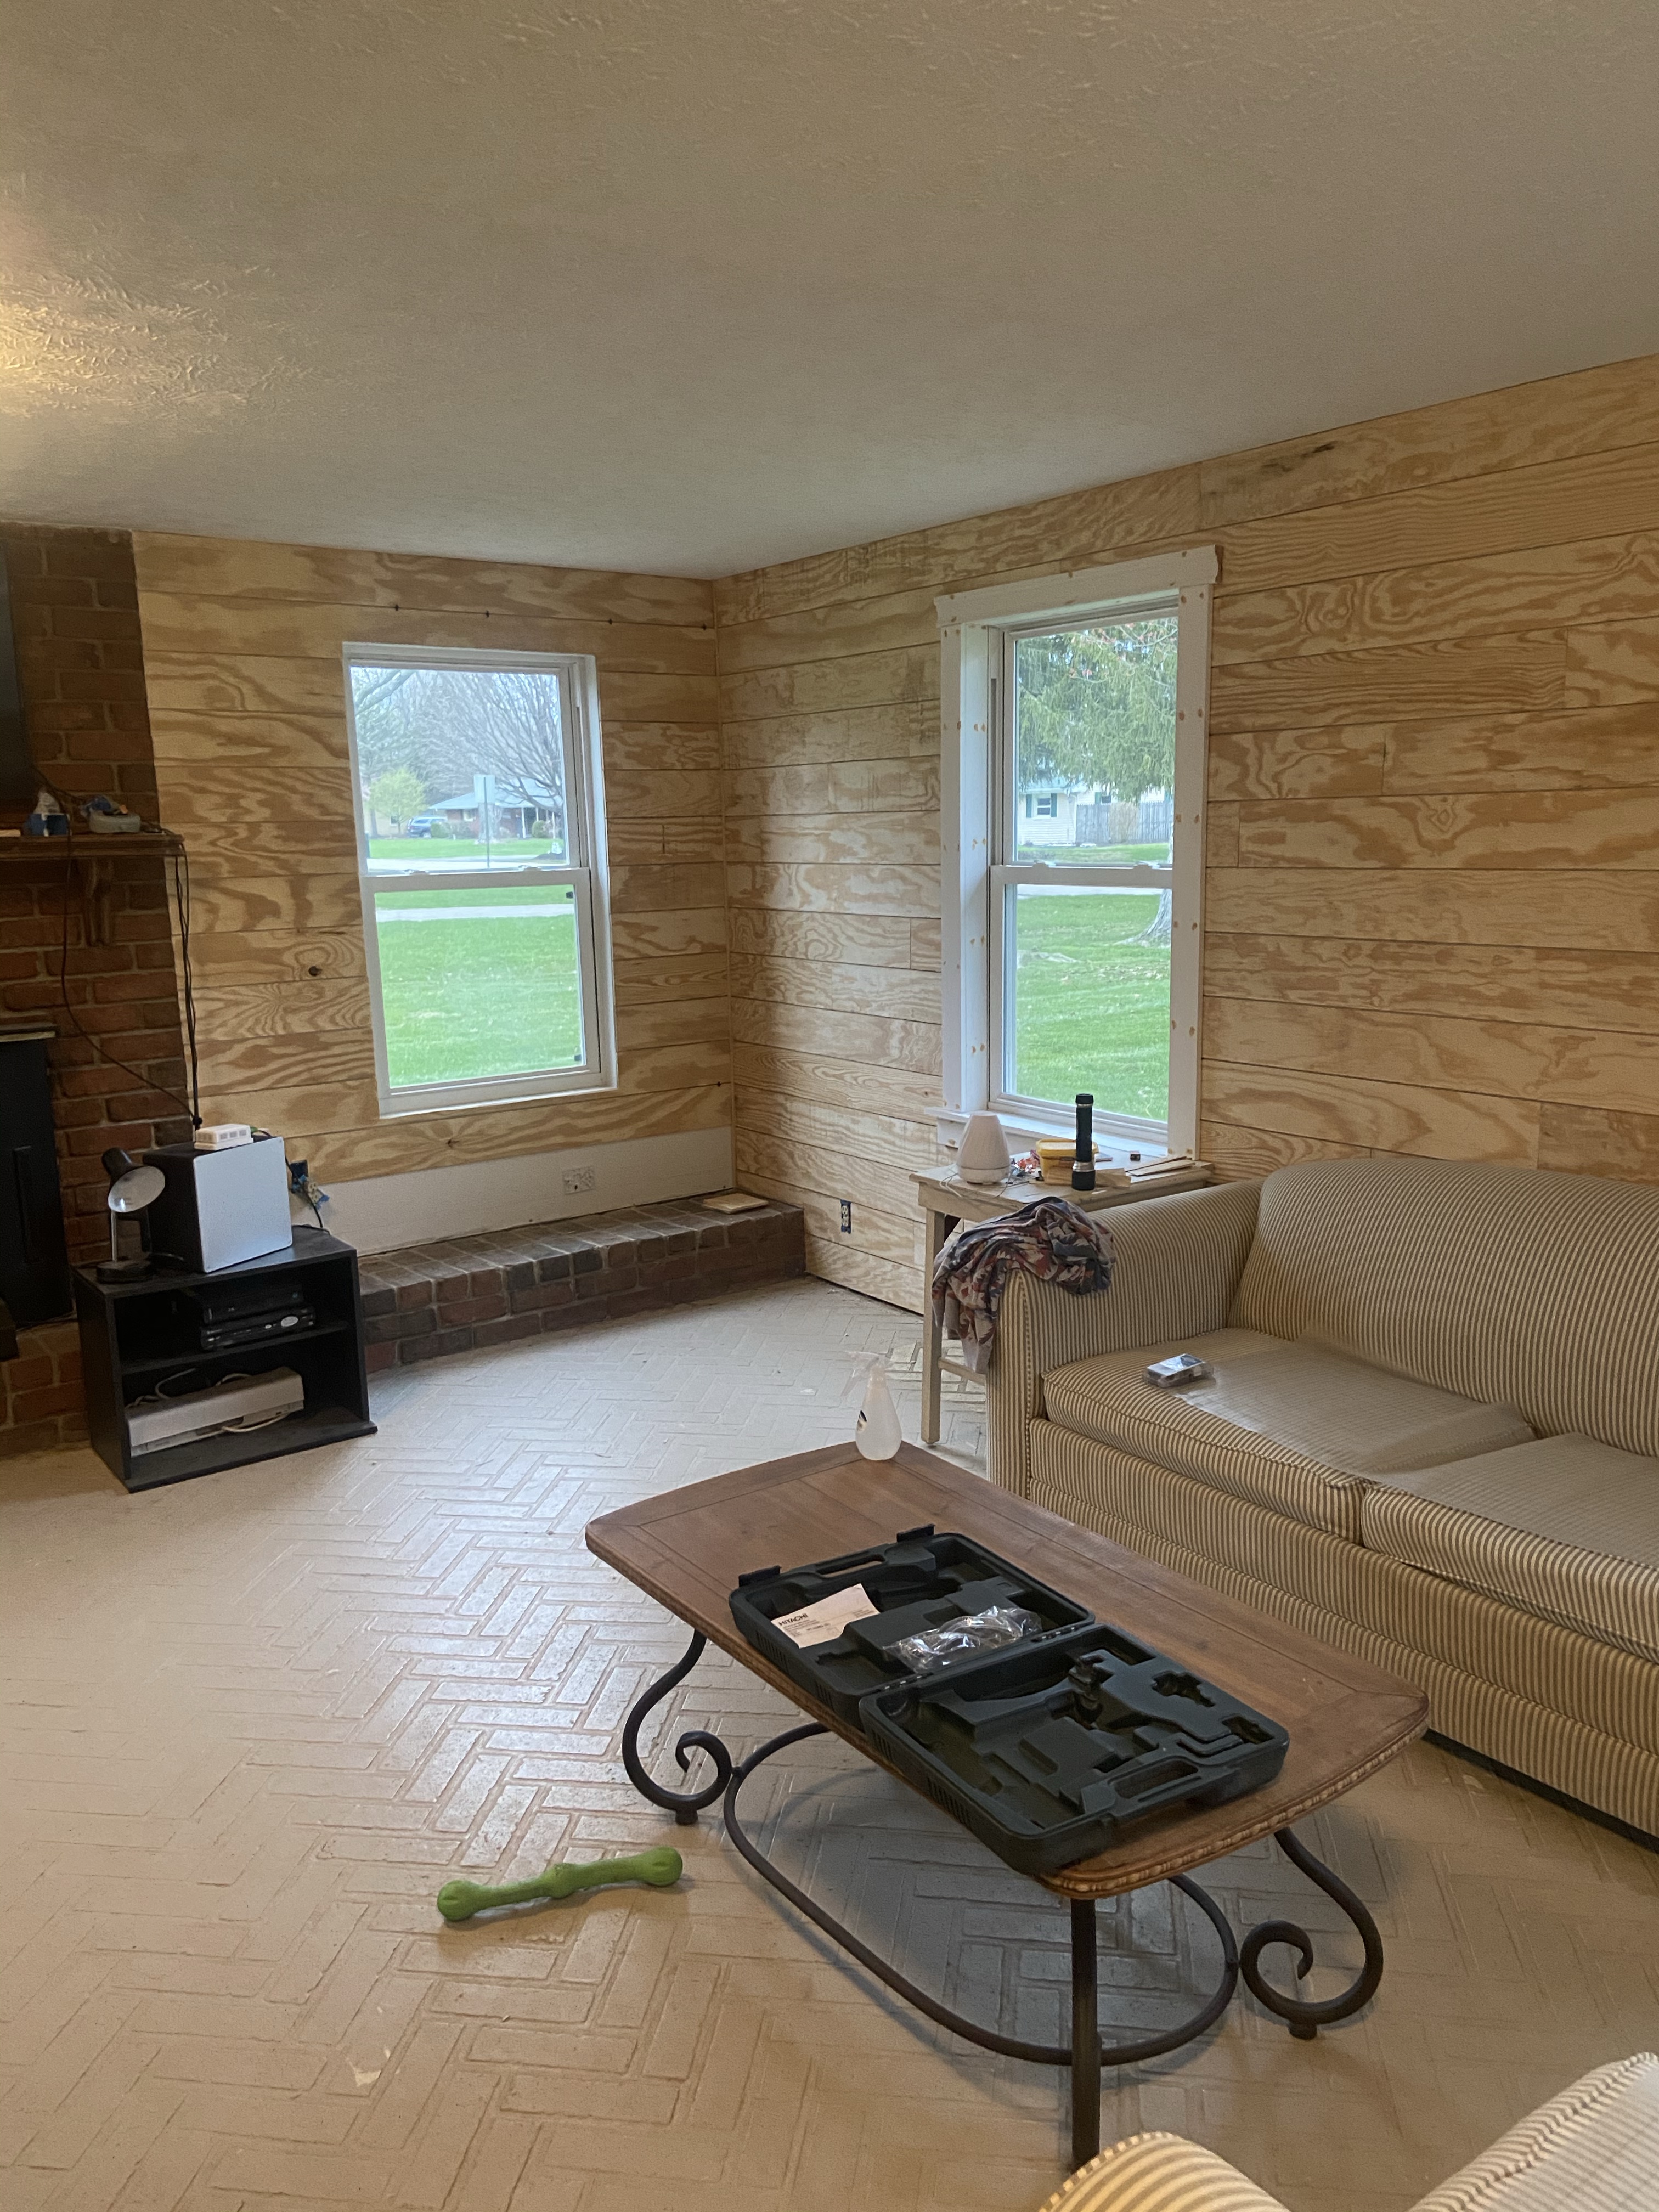
I remember sitting on our couches that my aunt and uncle gave us, looking at our white, mud covered floors (this is what happens when you have four dogs), and plain white walls, thinking we got to do something about this. Our family room just felt cold. While Zach was out golfing I envisioned exactly what I wanted this room to look like. I told him all the details when he came home. He was immediately on board.
My mom gave us the idea to reach out to our friends Gina and Shane. They’ve completely renovated their whole house on their own and it looks so amazing! They gave us some shiplap tips that saved us so much money. We couldn’t believe it wasn’t real shiplap when they were telling us this
Step one: Measure you room to figure out about how much plywood you would need for this project. Plywood comes 4×8 but don’t worry we had to go back to Lowe’s a couple times after measuring too. 😉 You can have all your measurements right but still mess up somehow!
Step two: We decided to use 3 ply plywood. Honestly this was the cheapest version that still looked good. Once we picked out our 10 plus pieces of ply wood we had them rip it into six inch boards right there at Lowe’s. This was such a life saver because using a table saw on that much ply wood would have been awful!
Step three: To get that gap in between each board you can either grab tile spacers (I grabbed a couple sizes to make sure I got the look I wanted) or you can use nickels as your spacers. This way when you are hanging each board your spacing is the same each time.
Step four: Planning the pattern. My dad and Zach were the ones who did this. My dad has experience laying hardwoods and tile so he took the lead in this area. If you don’t have a Tom (my dad) in your life honestly google tile patterns to get the look you want. There was only one wall in our family room that we had to do this pattern with because the length of the shiplap didn’t reach wall to wall. Every other wall we were able to just go piece by piece without making many cuts.
Step five: The nail gun. This is an absolute must! If you do not have one then find someone who does to do this because it makes life so much easier. Once you have your board up, your studs marked and your spacers in and even all you have to do is pull the trigger and you’re good. Well you obviously have to pull it more than one time to get the board to stay but you know what I mean!
Step six: Wood filler. This is honestly the most annoying step. You have to fill in all the nails holes with wood filler and sand it down. This was my least favorite part of the project so to keep myself entertained I started timing myself to see how quickly I could sand each section. In the end I won!
Step seven: Painting. Make sure you prime your wood first just like anything else. Ply wood tends to soak up paint quickly but putting the primer down allowed me to only have to do one coat of paint over top. This was a life saver! The white paint I used was Snowbound by Sherwin Williams. I love this color because it gives the room a clean and cozy feel.
Step eight: Trim. Zach and my dad put up the trim just like you would to a normal wall. We decided to go with a thicker, rounded trim for that room because it tied in with our window casings.
Now you have a warm cozy room with the shiplap you’ve dreamed of but you’ve saved a lot of money!! I hope this helps you reach your shiplap goals!
Reach out if you have any questions!